Fasteners - Clip&Rip™
CLIP&RIP™
Universal Hidden Deck Clip
brand compatibility
Trex®: Select, Transcend, Transcend Lineage, Signature, Enhance
TimberTech®: Legacy, Reserve, Prime, Prime+, Terrain, (AZEK) Harvest, (AZEK) Landmark, (AZEK) Vintage
Fiberon®: Paramount, Promenade, Goodlife, Concordia, Sanctuary
Deckorators®: Picture Frame, Venture, Vault, Vista, Voyage, Trailhead
MoistureShield®: Vision, Meridian, Elevate, Vantage
VekaDeck®:Groove


application
Clip&Rip™ Universal Hidden Deck Clip provides faster installation over traditional hidden clips. The 16 pre-assembled collated strips with stainless steel screws allow for one-pass fastening in one go saving time and money on the job site.
features
- One-Pass Fastening: fastener can be installed in one go. The clip will remain level for sliding the next board in place
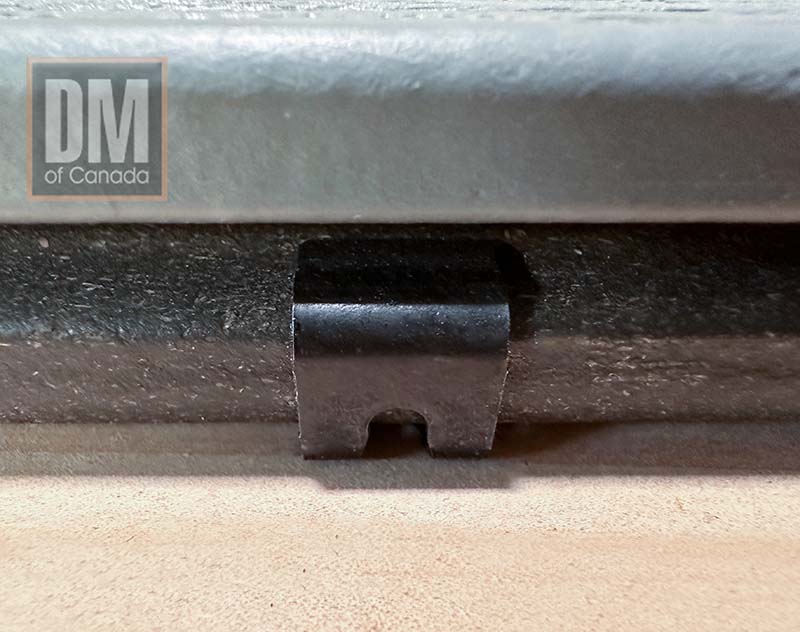
- Compression Tabs: “bite” down into the joists, keeps clip level after screw is completely installed
- Ease-of-Use: no additional tools needed. Installation is as easy as Insert, Drive, Snap!
- Universal Compatibility: suitable for grooved composite, PVC, and hardwood decking
- Time & Costs Savings: 16-clips per strip allow for installation of a full 20ft board
- Consistent & Clean Look: clip creates 3/16″ spacing between boards
- Corrosion Resistance: 305 and 316 stainless steel options available. 316 stainless allows for us in marine environments. Suitable for ACQ and pressure-treated lumber.
- Packaging Options: available in 192ct packs covering 100 sq ft and 800ct packs for 425 sq ft
finish
- 305 Stainless Starter Clip
- Glass Filled Nylon Field Clips
- 305 Stainless Screws
- 316 Stainless Screws
drive system
- T15 Star Drive
corrosion
- Exterior Use
- Approved for use in ACQ and pressure treated lumber.
- For salt water or other areas where corrosion is a concern, use Grade 316 Stainless.
available product sizes
Starter Clip- Length 1-5/8"; 305 Stainless with Stainless Clip
- Drive type T-15, 12 clips per pack
- Length 1-3/4"; 305 Stainless with Nylon Clip OR 316 Stainless with Nylon Clip (special order)
- Drive type T-15, 16 clips per strip, 12 strips per pack (192 clips)
- Length 1-3/4"; 305 Stainless with Nylon Clip OR 316 Stainless with Nylon Clip (special order)
- Drive type T-15, 16 clips per strip, 50 strips per pack (800 clips)

fastener instructions
- Insert the strips of clips with the arrow
 pointing forward into the leading board groove. Center over joist.
 - Drive the screws down in a straight and steady fashion until the head of the screw is flush with the clip.
- Lift up on strip to break off installed clip.
- Install clips at every joist along length of board.
- Place next board into position. Holding the deck board at a slight angle, push deck board into previously installed clips. Check between boards to ensure consistency.

step 1. INSERT

step 2. DRIVE
step 3. SNAP
step 4. SLIDE BOARD & REPEAT
Estimated coverage:
12" Joist Spacing
- 100 Sq Ft. (area) 210
- 200 Sq Ft. (area) 441
- 300 Sq Ft. (area) 672
- 400 Sq Ft. (area) 882
- 500 Sq Ft. (area) 1113
Estimated coverage:
16" Joist Spacing
- 100 Sq Ft. (area) 175
- 200 Sq Ft. (area) 336
- 300 Sq Ft. (area) 512
- 400 Sq Ft. (area) 672
- 500 Sq Ft. (area) 848


starter clip* instructions
- For first and last boards, screw a starter clip at every joist.
- Once all starter clips are installed, push the first deck board into starter clips.
- Proceed to fasten remainder of boards with standard clips
*Starter clips are only available in 305 stainless steel